Invite User (Invite Now)
Explore Videos for more help:
Videos
To create a new user, follow the steps below:
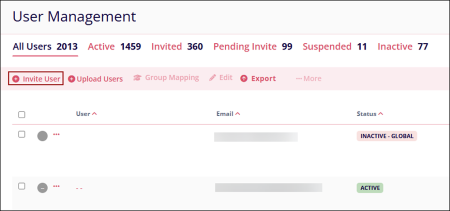
- Navigate to the Company Management section and select the User Management module.

- On the User Management page, click on +Invite User
- On the Invite User screen, enter the following details in the General Information
section.
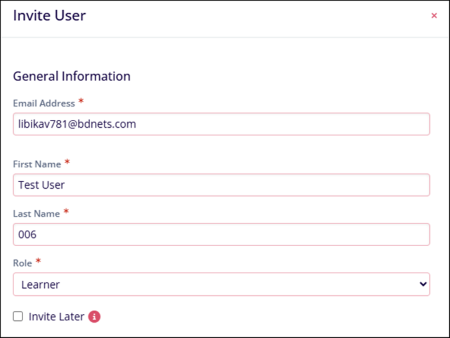
General Settings Field Name Description Email Address* Enter a valid email address First Name Enter the user's first name Last Name Enter the user's last name Role Select either of the following - Learner
- Instructor
- Manager
- QA
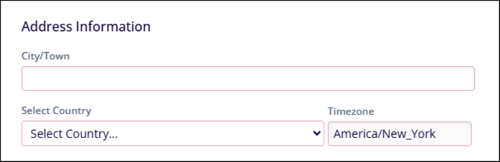
Invite Later Uncheck the ‘Invite Later’ checkbox to trigger immediate invites to the users. - In the Address Information section, specify the City/Town, Select Country, and Time
zone.
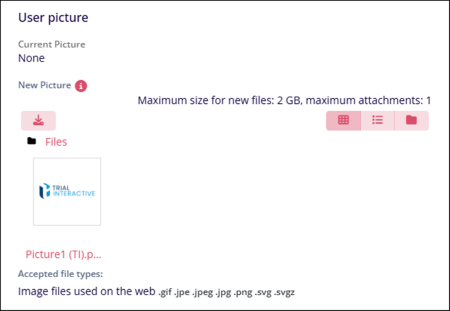
- In the User Picture section, upload an image in the specified formats as a user profile
picture.
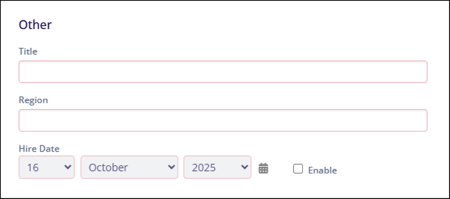
- Fill in the following miscellaneous information in the Other section.
- Title
- Region
- Hire Date
- Fill in the necessary information in the Additional Profile fields, if created.
Refer to the Add Profile Fields section to learn more about adding additional profile fields.
- Click on the Invite User button once all the necessary details are
entered.
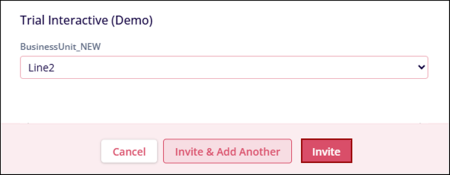
- If ‘Invite Later’ is not selected, the success message states that the user is invited
successfully.

- When a user is invited, their details automatically appear under the Invited tab, and their status is displayed as INVITED.
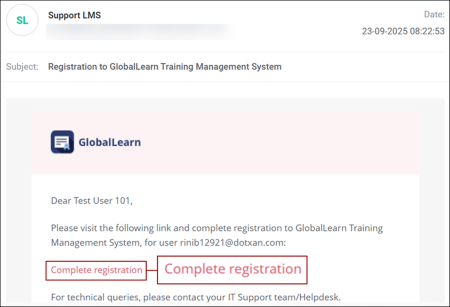
- The User receives a registration notification at the email address added in the Email
Address* field. Click on the Complete Registration link.
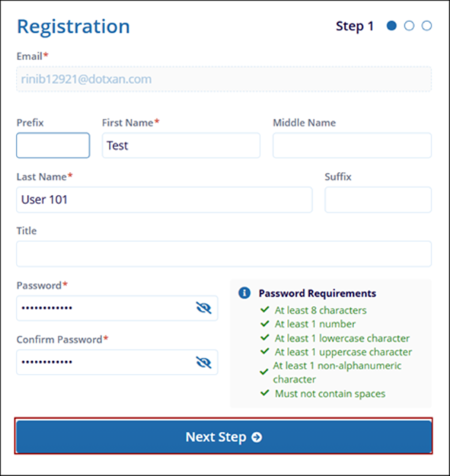
- On the Registration form, fill in the following details
- Prefix: Enter the prefix if required.
- Email*: This field is pre-populated and cannot be edited.
- First Name*: This field is pre-populated but can be edited.
- Middle Name: Enter the middle name if required.
- Last Name*: The last name is pre-populated but can be edited.
- Title: Enter a suitable title if required
- Password*: Configure a new password adhering to the password requirements
- Confirm Password*: Re-enter the same password
- Once all the details are entered, click on the Next Step button.
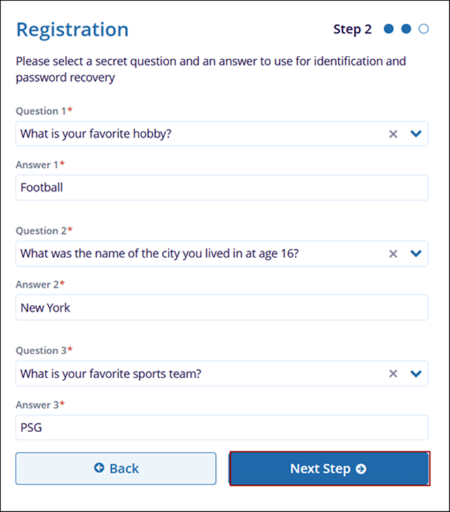
- As a part of step 2, select three secret questions and their corresponding answers for
identification and password recovery.
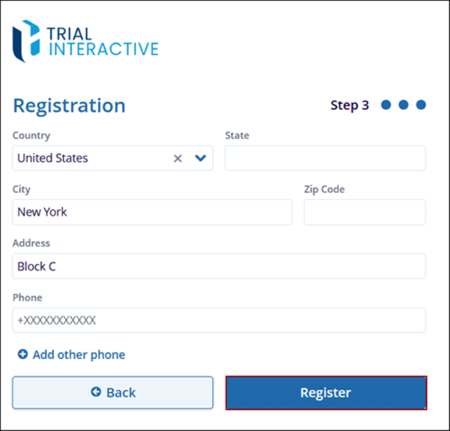
- As a part of third step, enter the following information.
- Country
- State
- City
- Zip Code
- Address
- Phone
- +Add Phone Number
- One all the information is entered, click on the Register button.
- Upon successful registration, the screen displays the corresponding success message for
users. Click on the Go to Log In Page button.

© 2025 Trial Interactive. All Rights Reserved
