Edit Company
Select the ‘Edit Company’ option from the Company Management section and edit the following company-related details.
Company
Edit the following company information and click on the ‘Save Changes’ button.
- Long Name*
- Short Name*
- Location (Town City) *
- Select Country*
- Tenant ID
- Default Training Group for Added New Users
Appearance
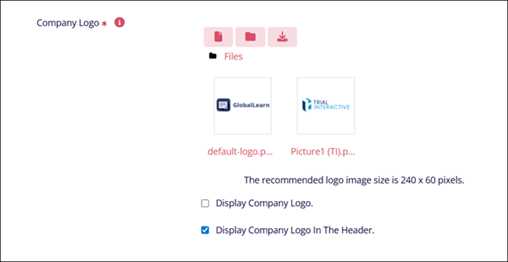
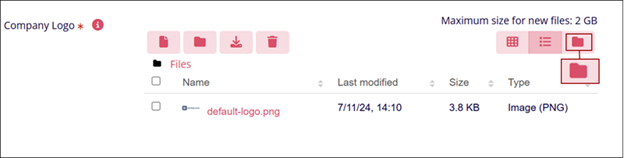
The appearance section involves adding or updating the company’s logo and configuring its display. Admins can upload a logo using one of the methods below.
Refer to the image below for a visual guide to the sequential logo updating methods indicated by numbers.

- Drag and Drop
- Drag & Drop the required files into the designated area.
- File Upload
- Click on the Add Files button
- On the File Picker screen, click on the Choose File button.
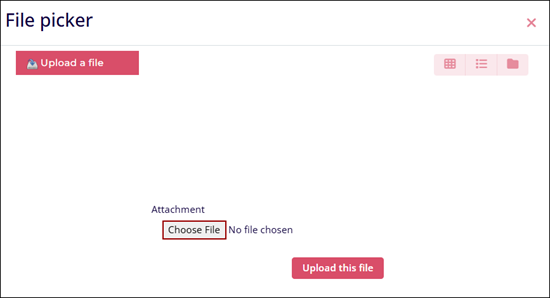
- Select a file from the local system.
- Click on the Upload this file button.
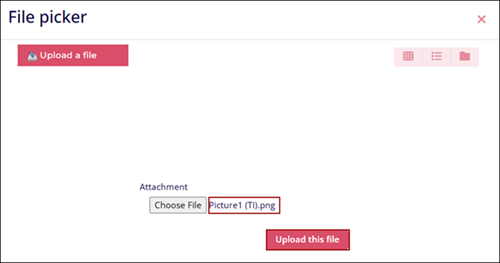
- The uploaded file can be viewed in the Company Logo section.
Important
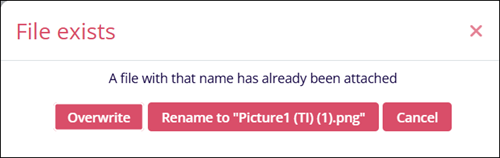
- If a file with the same name is uploaded, the system displays the ‘File exists’ pop-up.
- Click on any of the actions to proceed with the file upload
- Overwrite: The new file replaces the existing one.
- Rename: Renames and uploads the new file.
- Cancel: Ceases the new file upload process.
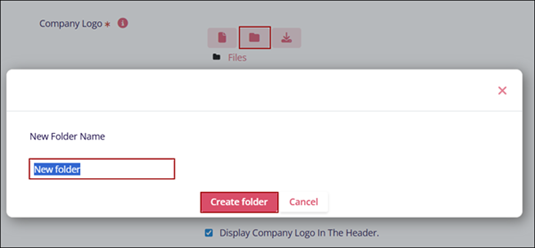
- Create New Folder
- Click on the Create New folder icon.
- Enter the folder name.
- Click on the Create folder button.
- Follow the steps in the File Upload section to upload files to the new
folder.
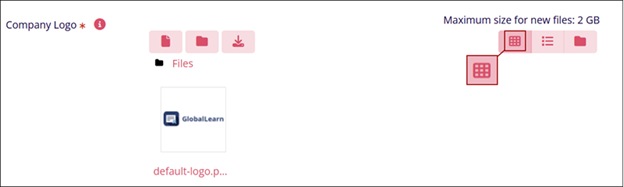
- Customize View
- Click on the Grid View icon to display the folder with file icons.
- Click on the List View icon to display the folder with file details.
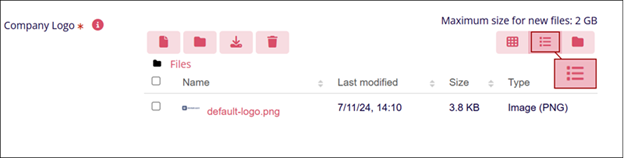
- Click on the folder icon to display as a file tree.
- Click on the Grid View icon to display the folder with file icons.
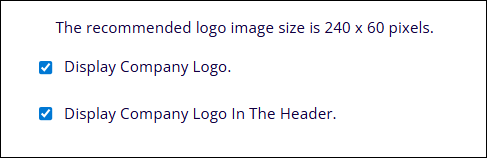
- Customize Logo Display
- Click on the ‘Display Company Logo’ checkbox to enable the display of the company’s logo.
- Click on the ‘Display Company Logo in the Header’ checkbox to enable the display of
the company’s logo in the header section of the application.
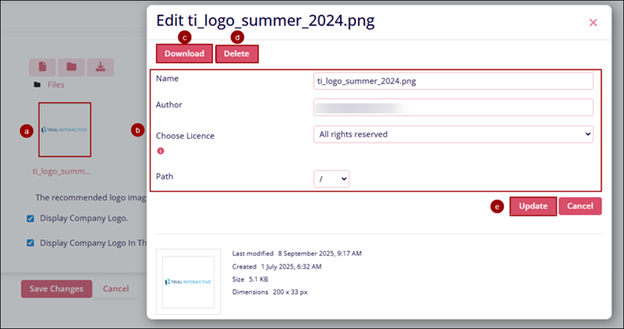
- Edit File
- Click on the uploaded file.
- On the Edit screen, update the following details
- Name
- Author
- Choose License
- Path
- Click on the Download button to get a copy of the logo image
- Click on the Delete button to permanently remove the logo image.
- Click on the Update button once all changes are done.
- Save Changes
- Once all Changes are made, click on the Save Changes button.
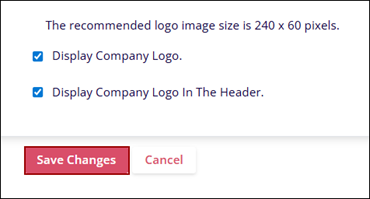
- Enter a reason in the Save Changes confirmation window and click on Save
Changes.

- Once all Changes are made, click on the Save Changes button.
© 2025 Trial Interactive. All Rights Reserved
