Add Event Trigger
Explore Videos for more help:
Videos
The Add button in the Event Trigger allows user to defining the event type and aligns it with the automatic creation of the event and set to the selected status.
To Add Event Trigger, follow these steps:
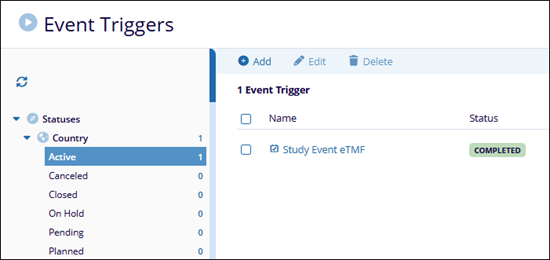
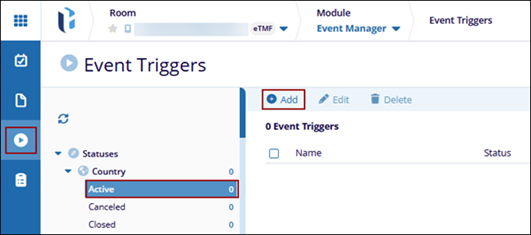
- Navigate to the Event Manager module and select the Event Triggers tab from the left-hand navigation pane.
- Expand the category folder and select a status sub-folder.
- Click the +Add button from the top menu bar.
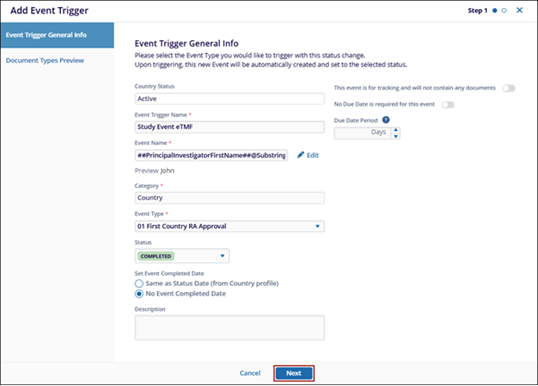
- On the Add Event Trigger form, fill in the following details within the General Info
section.
- Event Trigger Name: Enter a name for the event trigger
- Event Name: To configure the auto naming rules, perform the following:
- Click the Configure Auto naming button.

- On the Configure Auto naming window, select the Fields and Functions tab and click the +Add button against a field.
- Click Save.
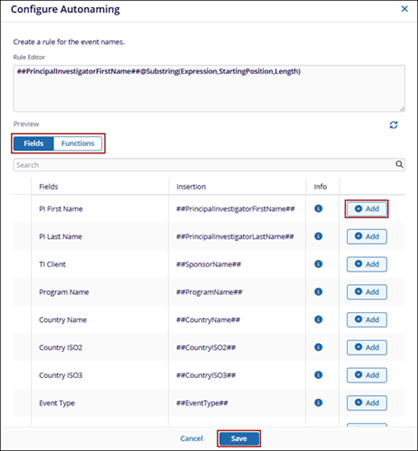
- Click the Configure Auto naming button.
- Event Type: Select an event type from the dropdown list.
- Status: Select the status as completed or planned.
- Set Event Completed Date: Select any of the options by selecting their
respective radio button.
- Same as Status Date (from Country profile)
- No Event Completed Date
- Click Next
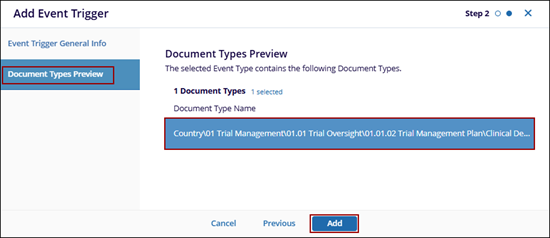
- On the Document Types preview page, select the document types.
- Click the Add button.
- Added Trigger will be present in Grid.