S3 Video
An S3 video bucket is a secure cloud storage container that offers virtually unlimited, durable and secure storage for files, backups and website assets. The S3 Video feature allows large video files to be uploaded to an S3 bucket and added to a course from a dropdown list. Learners can stream the video directly in the browser through an embedded player.
Important:
- Currently, the application does not support direct uploads of large video files as it is designed for document viewers best performance with files (PDF, Word, PowerPoint) under 250MB.
- When a video file exceeds approximately 60 minutes in length or 100 MGB in size, the S3 bucket feature should be used when adding the file as a course resource. This threshold is based on applications performance considerations.
- To enable uploads of large video files, contact the Trial Interactive Service Desk to configure the S3 bucket.
Process to Request S3 Bucket Access
-
Client submits a Service Desk (SD) ticket requesting an the SFTP video upload link, which is escalated to the SE team for creation.
-
The SE team notifies the client and provides login credentials to access upload link. SFTP link remains active for 30 days; if unused beyond that period, it can either be extended by the SE or a new SFTP link must be created.
Steps 1-2 = SLA of 3 business days
- Client logs in and uploads the required video files to the SFTP.
- Client replies to the SD ticket to confirm that the upload is complete.
- The SE team notifies Dev Ops that an S3 bucket is needed, submitting the Request S3 Bucket form.
- Dev Ops moves the uploaded files from the SFTP to the newly created S3 bucket.
Steps 4-6 = SLA of 3 business days
- The SE team updates the original SD ticket to notify the client that their videos have been transferred to the S3 bucket
- Clients can then select videos from the S3 bucket as Course Resources.
Total SLA of 5-7 business days.
Note:
- Each company has only one S3 bucket.
- If additional files are being uploaded via a reactivated or newly created SFTP and an S3 bucket already exists, Step 5 (S3 bucket creation) is not required.
- The CSM should advise the client that when replying to the SD ticket in Step 4, they must indicate whether a previous S3 bucket already exists. This ensures the team skips unnecessary bucket creation and avoids delays in the process.
To add an S3 Video, follow the steps below.
- Click on the Resources tab and select S3 Video.
- On the Editing S3 Video screen, configure the following settings.
General Name Description. Name* Enter a suitable name for the S3 Video Description Enter a brief description of the video Display description on course page Enable this setting to view the video description on the Course Page and vice versa. 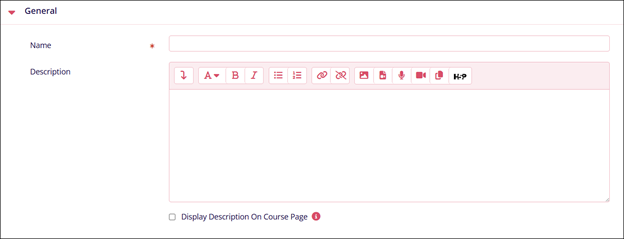
Content Name Description. External URL* Enter the URL link into the designated area. Choose Video from S3 bucket Click on the button and select a video from the S3 bucket. 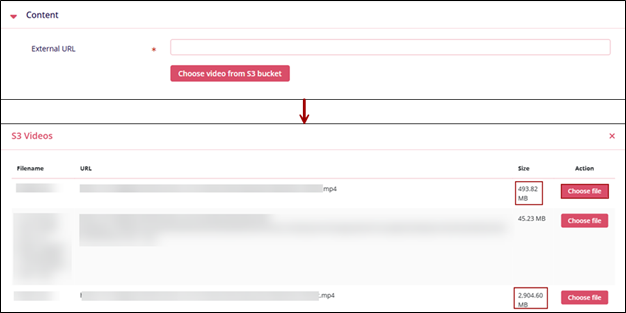
Common Module Settings Name Description. Availability Select either of the following
- Show on Course Page
- Hide on Course Page
ID Number Enter an ID number as a unique identifier for an activity for grade calculation purposes. 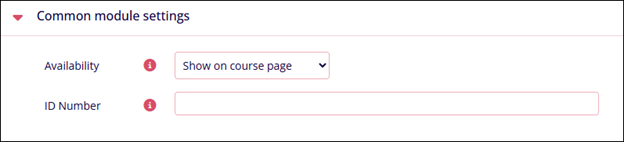
Restrict Access Name Description. Add Restrictions Refer to the Restrict Access section. 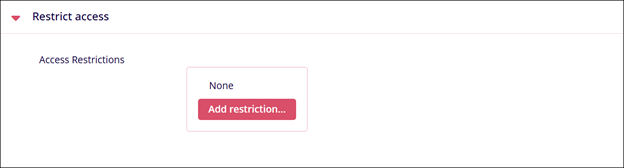
Activity Completion Name Description. Completion Tracking Select either of the following
- Do not indicate activity completion
- Students can manually mark the activity as completed
- Show activity as complete when conditions are met
Require View
Enable or disable the following
Student must view this activity to complete it
Note: Visible only if Show activity as complete when conditions are met is enabled in Completion Tracking.Expect completed on
Click the Enable checkbox and enter the date, month, and time. A specific timeline to complete an activity can be set by enabling this setting.
Note: Visible only if Students can manually mark the activity as completed is selected in Completion Tracking.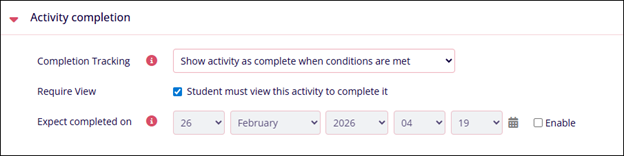
© 2025 Trial Interactive. All Rights Reserved
