External Training
Explore Video for more help:
Video
To create an external training course, follow the steps below:
- Click on the External Training option on the Create a Course screen.
- Fill in the General Information and click on the Next button.
Field Name Description Course Full Name* Enter a suitable name for the course. Course Short Name* Enter a short name for the course. Version* Enter the course version. Issue Certificate Click on the toggle switch to enable issuing the certificate. Allow File Download Enabling this setting allows enrolled users to download the course files. If enabled, this setting overrides the global file download restriction for this course. Course type* Select either Standard or Virtual Training. Course Catalog* Associate the course with a catalog by selecting a course catalog from the available list. Course Description Enter a brief description of the course. Credits Training area
Training ScheduleType of training entity
Course codeFill in the necessary details in these fields. Note: The visibility of these fields can be controlled from the Course Settings section within the Company Dashboard.Estimated Time Provide an estimated completion time for the course. Course Description Provide a brief description of the course. Course Picture Upload a picture using drag and drop or manual upload functionality. Additional Fields Fill in the specified additional fields with the necessary details.
Refer to the Additional Course Fields section for additional information.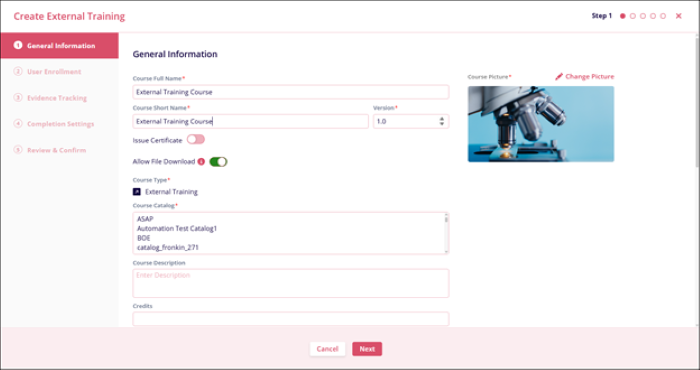
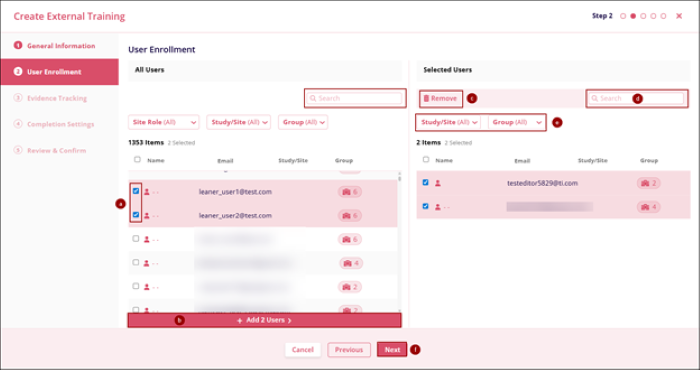
- Fill in the following User Enrollment information and click on the Next
- Select the required number of users by clicking the respective user’s name checkbox.
- Click on the +Add (number of selected users) Users > button.
- To remove the users from the list, click on the checkboxes and select the Remove button.
- To search for a particular user, enter the user’s name in the Search box.
- Click on Site Role (only for the All users section), Study/Site (All), and the Group filter dropdown to apply filters.
- Click on Next when the required number of users is added.
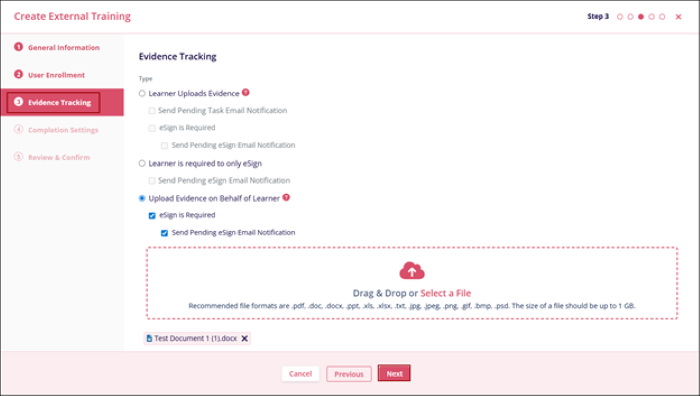
- On the Evidence Tracking screen, select any one of the options.
- Learner Uploads Evidence
- Send Pending Task Email Notification
- eSign is Required
- Send Pending eSign Email Notification
- Learner is required to only eSign
- Send Pending eSign Email Notification
- Upload Evidence on Behalf of Learner
- eSign is Required
- Send Pending eSign Email Notification
- eSign is Required
- Learner Uploads Evidence
- Upload evidence document(s) in the specified file formats if the last option is selected,
and click on the Next button.
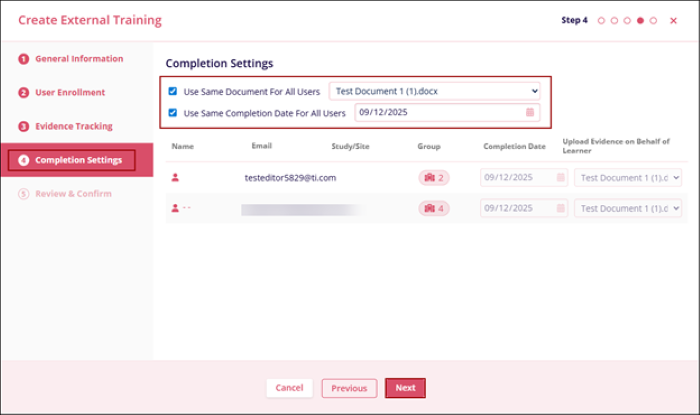
- On the Completion Tracking screen, configure the following settings and click on the
Next button.
- Use Same document for All Users: This setting is available only when Upload Evidence on Behalf of Learner is selected. By enabling this setting, the document(s) uploaded as evidence will be the same for all the enrolled users. If disabled, course creators can select a different document for each user.
- Use Same Completion Date for All Users: By enabling this setting, the completion date will be the same for all the users added to the course. If this setting is disabled, a different completion date can be set for all the added users.
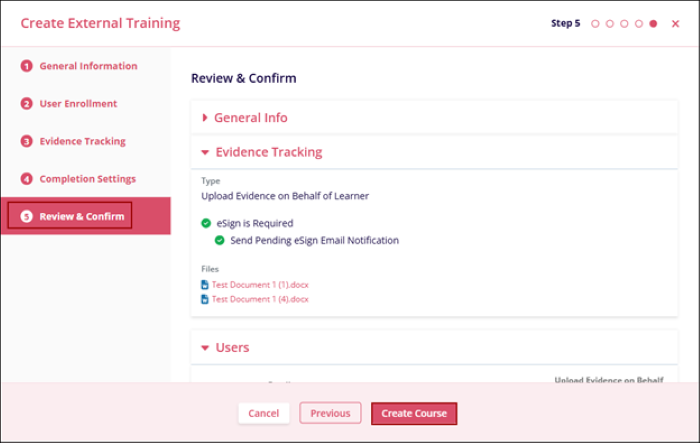
- On the Review and Confirm screen, verify all the initially entered information. Click on the Previous button to go back to the previous steps and make the required changes.
- Click on the Create Course button if all the information is correct.
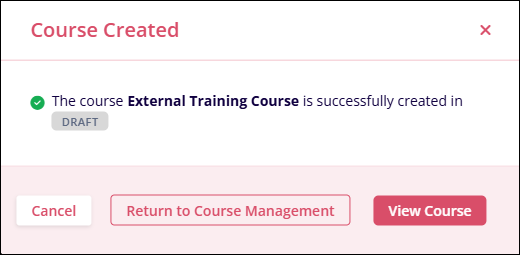
- The Course Created screen displays the confirmation message.
- Click on the Return to Course Management button to view the course on the Course Management screen.
- Click on the View Course button to see the course page.
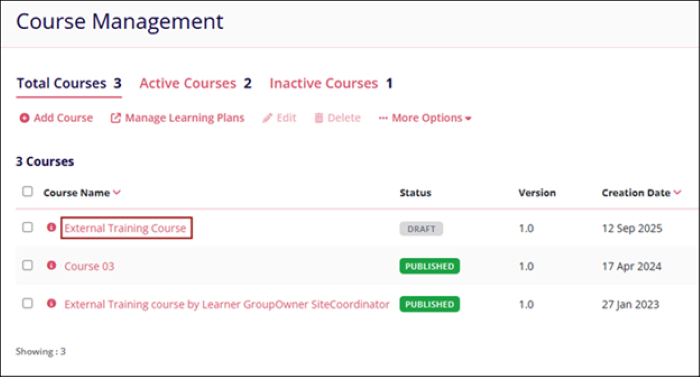
- Click on the hyperlinked course name on the Course Management screen.
- Click on the Edit Details button to make changes to the course information before
publishing.
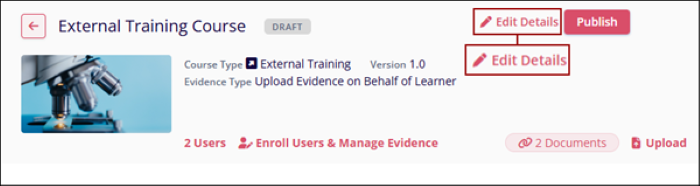
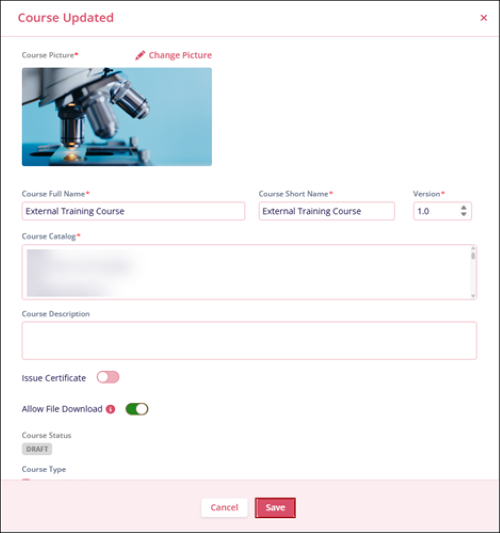
- On the Edit Course form, make the required edits and click on the Save
button.
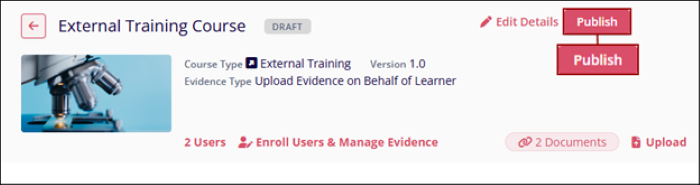
-
Click on the Publish button to publish the course
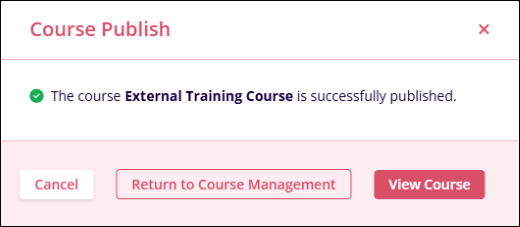
- The Course Publish confirmation pop-up displays the success message and prompts users to
click Return to Course Management or View Course.
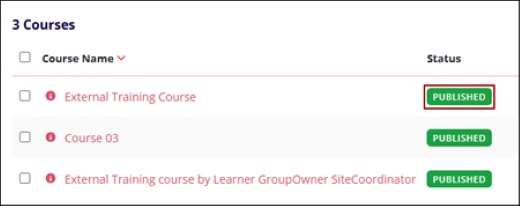
- Once a course is published, the status changes to Published.
© 2025 Trial Interactive. All Rights Reserved
