Add Required Doc
Follow the steps below to add a required document to the country.
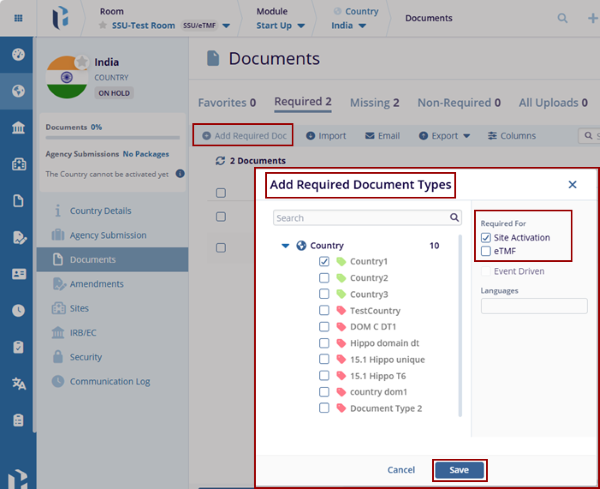
- Click the Add Required Doc button displayed in the top menu bar. This opens the Add Required Document Types pop-up window.
- Expand the Country, and the list of countries is displayed. Select the required Country, check the Site Activation checkbox on the right side of the pop-up window, and click Save.
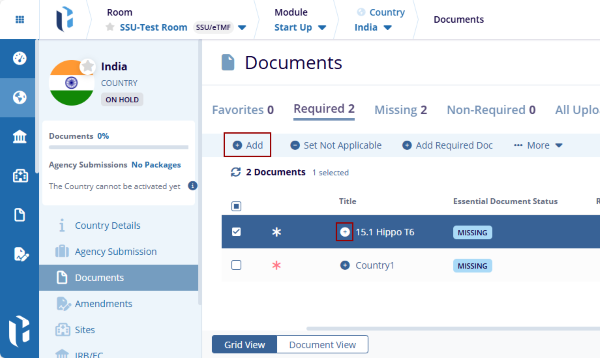
- The added required doc type is displayed in the grid with the
‘+’ icon beside it.
- Select the required document and click
the Add button displayed in the top menu
bar. Or the user can click on the ‘+’
icon available near the required document in the grid. This opens
the Add Document pop-up window.
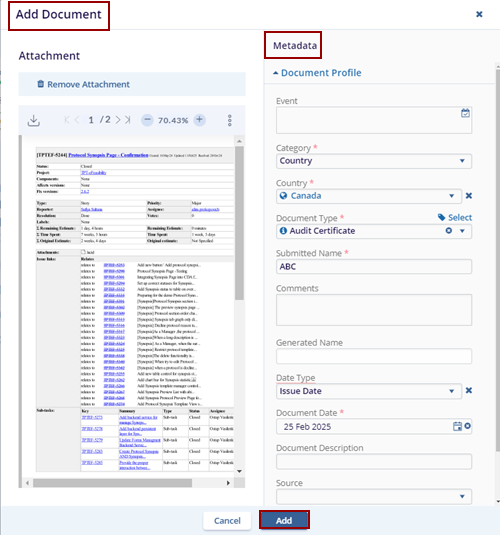
- Drag & Drop the required files or click the Browse File option.
- Select the file from the Windows Explorer and click Open. The selected files get uploaded.
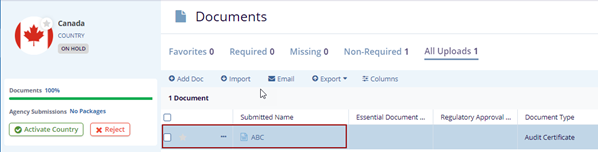
- Fill in the metadata and click ADD. The
document is added to the country.
- Select the document and click the Document drop-down to edit the document.
- Click the Edit option, and the metadata panel
opens on the right side of the screen.
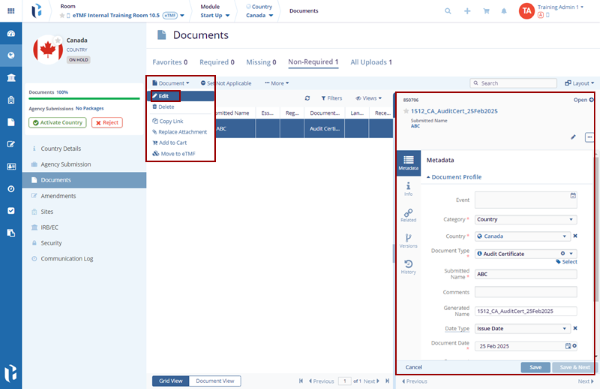
- Edit the fields and click the Save button on the metadata panel the edited fields get updated.
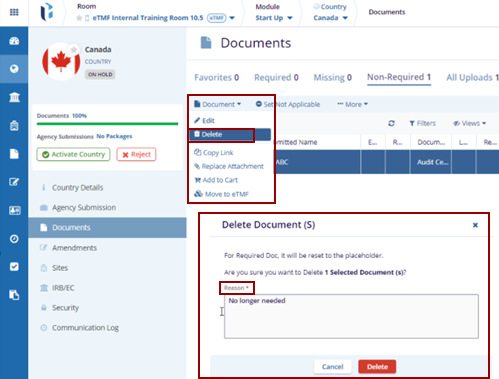
- Locate the document and click the Document drop-down arrow.
- Click the Delete option, and the Delete Document(s) pop-up window is
displayed with the Reason box.
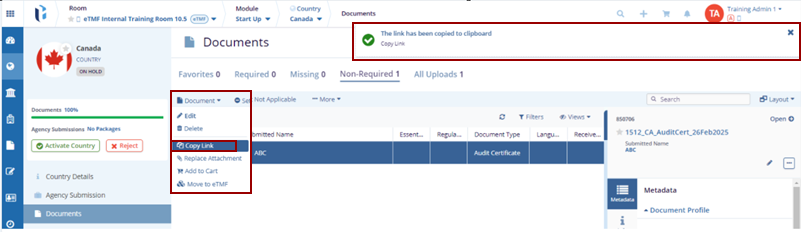
- Locate the document and click the Document drop-down arrow.
- Click the Copy Link option, and the
notification message is displayed on the top right of the screen.
- Locate the document and click the Document drop-down arrow.
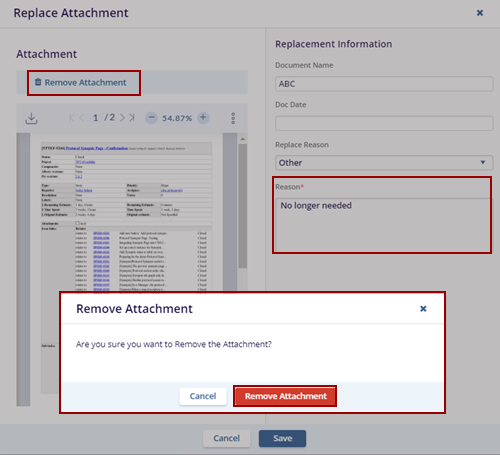
- Click the Replace Attachment option. The
Replace Attachment pop-up window is displayed with
the existing attachment.
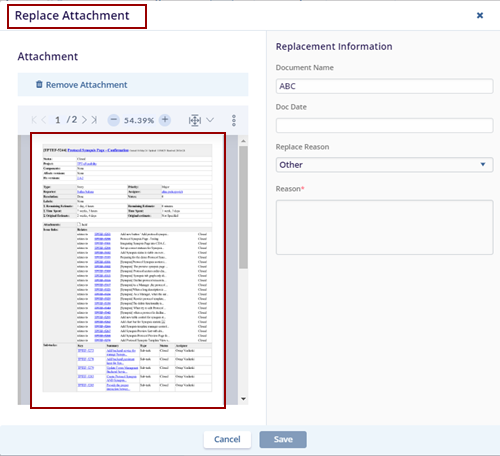
- To remove the attachment, the user needs to provide a reason in the Reason box and click Remove Attachment.
- The Remove Attachment pop-up window is displayed with the Cancel and Remove Attachment buttons.
- Now the user can attach the new document attachment as per the
requirement and then click the Save button.
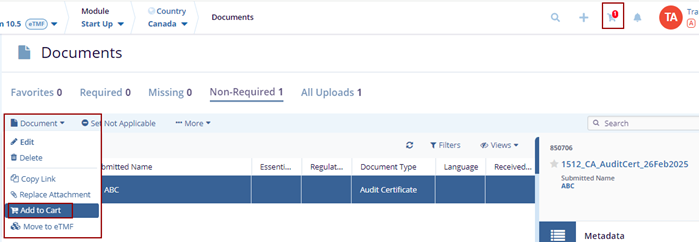
- Locate the document and click the Document drop-down arrow.
- Click the Add to Cart option. The selected
document gets added to the cart.
- Locate the document and click the Document drop-down arrow.
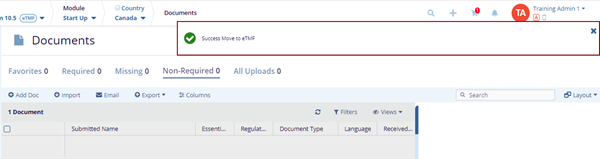
- Click the Move To eTMF option. The Move To eTMF pop-up window is displayed with the list of available folders in eTMF.
- Select the appropriate folder from the list and click the
OK button.

- The Success Move to eTMF notification message is displayed on the top right of the
screen.
© 2025 Trial Interactive. All Rights Reserved
